
One of the quilt guilds I belong to, Southtowns Piecemakers Quilting Guild, is having its biennial quilt show next week. I chose three of my newer colorful quilts to submit for judging.
 |
| Zing |
 |
| Turquoise triangles |
 |
| Eye Candy |
I haven't entered anything in a show for quite a long time. On Wednesday, I was at a statewide meeting where there was a discussion about judging, and the importance of neat mitered corners on the binding. Yesterday morning, a Quilty video popped up on Facebook about making perfectly mitered bindings. Perfect bindings may be aspirational, but my bindings on these three quilts were way closer to terrible than perfect.


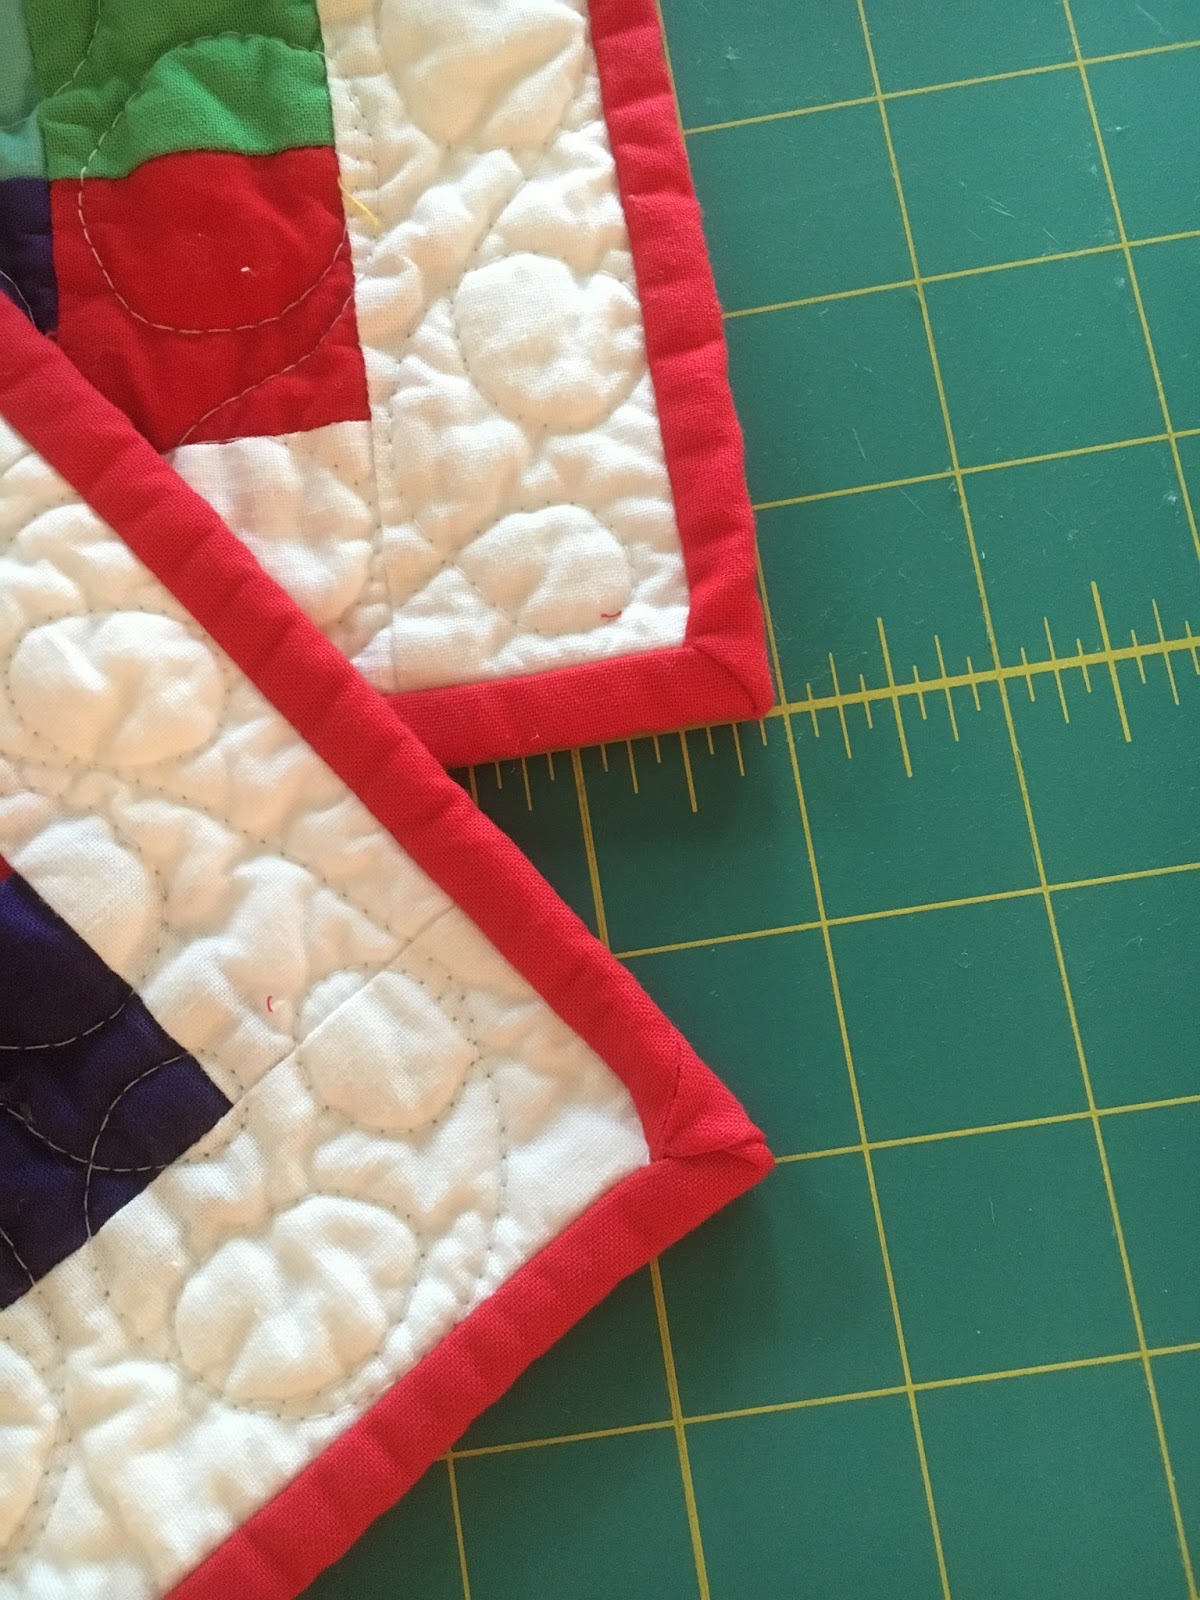
 |
| This was the worst! |
These quilts have been washed and dried and are nicely crinkley. Was it even possible to fix these corners at this stage? I decided to try. Fortunately, not every corner was awful, but I ended up redoing 9 of the 12 corners.
I removed the handstitching and the machine stitching from about 3 - 4 inches on either side of the corner, and then resewed, using the tips from Mary Fons' video. I then spent an hour resewing the binding on the back. The tips in the video were great, and certainly improved my little corners vastly!


 |
| Big improvement! |
Go see a quilt show this fall!
Take care,
Gretchen
I think your corners look fantastic now! I would not have thought you could fix them without completely removing the binding and redoing it. Good for you, and best wishes with your quilt show. They are all lovely!
ReplyDeleteThanks! I wasn't sure if it would work, and didn't know what I'd do if it didn't. I hand sew the bindings to the back, and didn't have time to redo the whole thing. Luckily, it worked! Thanks for visiting!
Delete