Sunday, March 8, 2015

Sunshine & Science Baby Quilt

     One of my nieces, a scientist, was expecting a baby girl, and I immediately thought about making a quilt using the science critter fabric from my daughter's computer case project. I pulled all sorts of other fabrics from my stash to see what might work with that fabric.  I was a bit torn, because the fabrics I was considering were not the traditional pinks.
The fabric pull - I love all of these fabrics, but  too many and too busy for the quilt I had in mind.  I still have some three little pigs fabric, which I have been trying to use up for years!   Another time, perhaps.
The fabric finalists.  I took my color cues from the floral at the end (turquoise, red, deep yellow and white) all of which were found in the science critter fabric.
    Last year I finished my turquoise triangle quilt, and wanted to try something a little different. I wanted to try bigger triangles, and used the template from this See Kate Sew triangle tutorial.  
Laying out the triangles on my design "wall".  I  pieced some flannel together, and use binder clips on an old wooden folding screen.  Not perfect, but it works.   You can see in the one corner that I was still trying to use the turquoise three little pigs fabric, but it really wasn't working for me.  
This fabric is too cute!
I also quite like this little bird fabric!  (There is some pink!)
                      The flower fabric.  This was a bit thinner than the others, so I made sure to use white batting.
     Somehow, I failed to fully follow the instructions (my fault, not the tutorial), and didn't get nice pointy ends for the triangles, but they are all the same, and look fine to me.

     I also tried a new technique with the batting.  For Christmas, the trusty quilt holder gave me a basket of notions from the quilt shop, with a tag that it was the "quilter's survival kit!" Among the items was a product to fuse batting.  I had two pieces of white Warm and White which, if put together, would fit this quilt perfectly. 

     I overlapped the two pieces slightly, and taking note of the width of the tape, I cut a gentle curving line.  That made it easier to have the pieces fit snugly together.  I then followed the instructions,and it seemed to work well.  I couldn't feel the tape when I was quilting. 
The gentle curving line
     I used an all over loopy quilting, with white Aurifil thread. I think this is a happy quilting motif.
     I had a great Ikea fabric for the backing, but while I was happily doing my loops, I neglected to check the back.  Ooops!   Luckily,  it was an easy fix!
          I used a bright yellow batik for the binding.   The finished quilt is 33 1/2 x 47 inches.  

My trusty quilt holder braving the cold.
Lake Erie, nearly fully frozen, in March! 
Welcome to the world, baby Arwen!  Stay warm! 

Can't wait for spring! 

Take care,
Gretchen 

Saturday, February 28, 2015

My Sister's T-Shirt Quilt

 
The finished t-shirt quilt.


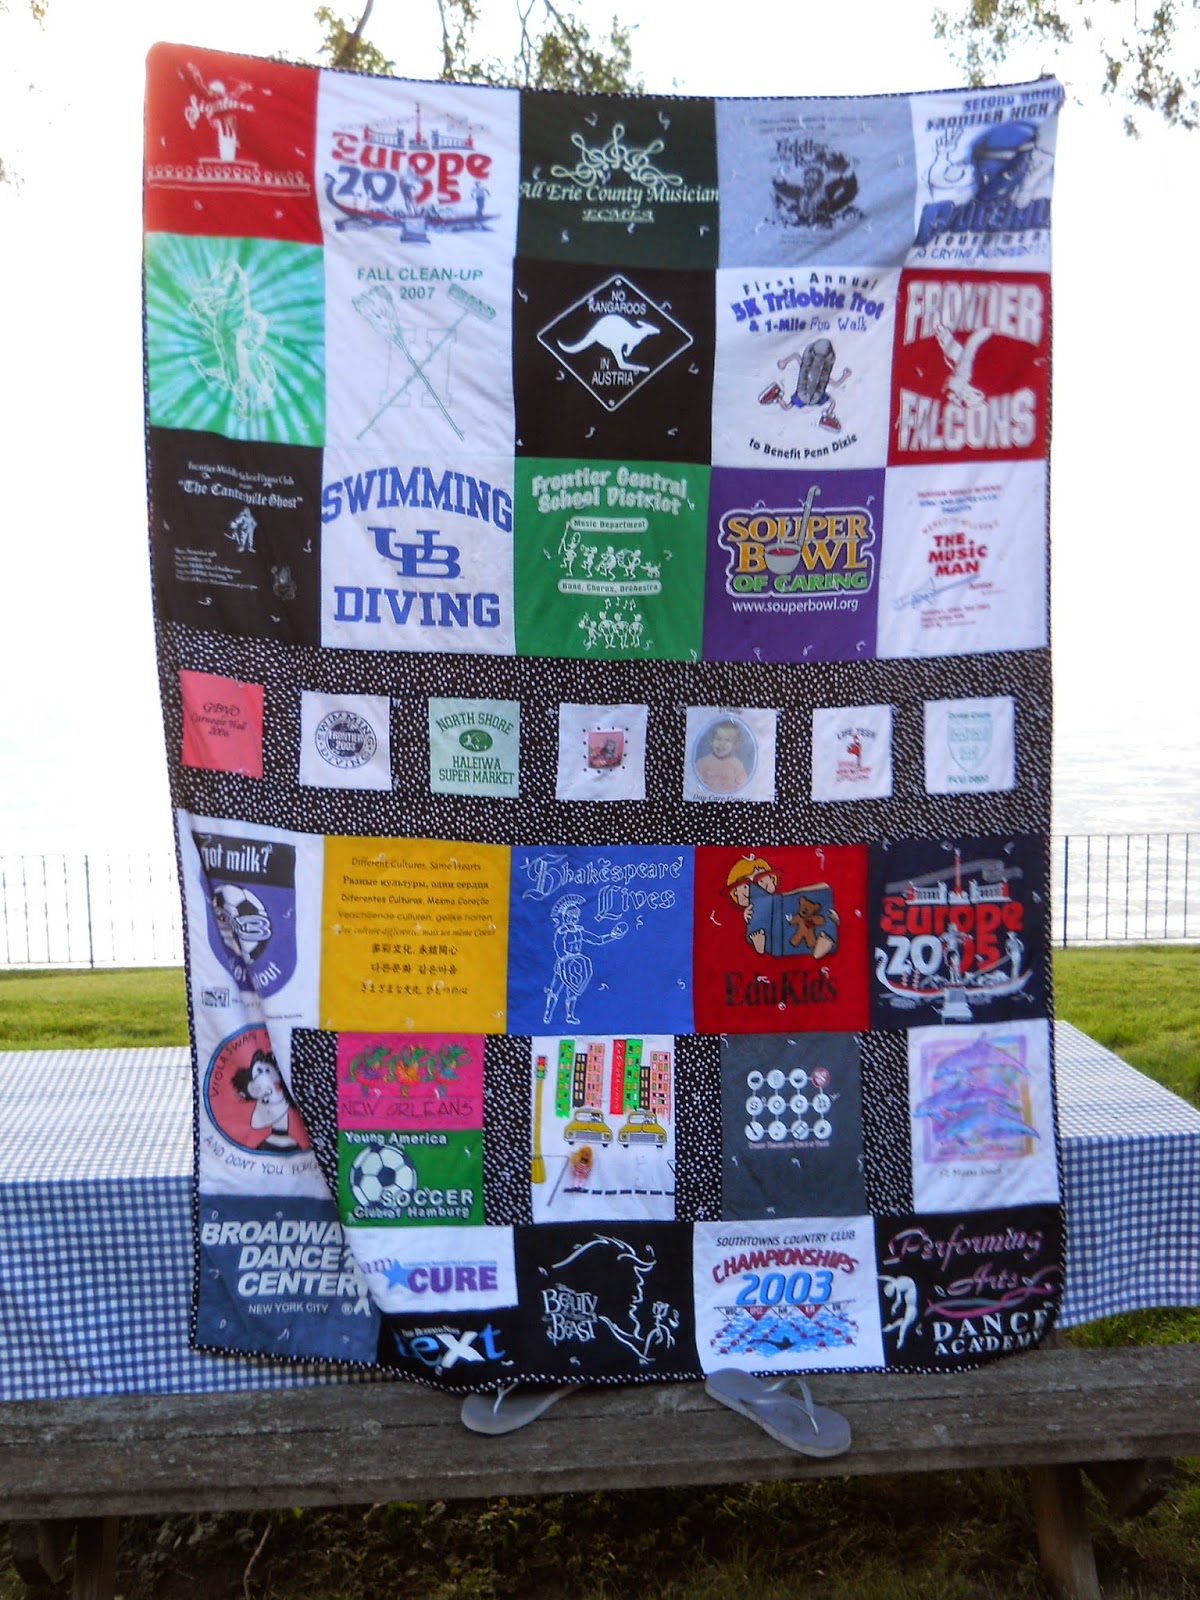
My daughter's t-shirt quilt  from a few years ago.   Same table - different season.  There is also a t-shirt in common from a race they ran together!   
     My very athletic (and t-shirt saving) sister,  requested a t-shirt quilt.  After struggling to fit all the odd sized shirt pieces together in my daughter's quilt, I was determined to cut all the shirt pieces the same size for my sister's!  

     I purchased a 12 1/2 inch square  Omnigrip quilter's ruler.  That was well worth the investment.   I lent it to my sister to aid her choice of shirts; I had her cut off the and back of 33 t-shirts.   Once I had the stack of shirt tops, I ironed on some lightweight fusible interfacing to stabilize the stretchiness and then cut out all the 12 1/2 inch squares.   These t-shirts reflect a her wide variety of athletic (and other fun) endeavors over the years. 

     Once I picked out the final 30 squares, I arranged the darker and lighter ones into a checkerboard pattern and sewed them together.   Sewing on the knit interfaced fabric, some of which was shiny and some thick cotton, was difficult.  I decided to tie it, rather than quilt  it.  
Putting the pieces together
     I used a nice flannel for the backing, and a fluffier batting than usual.  Instead of trying to quilt this top, I used a bright yellow embroidery floss and tied it about every 4 inches (per the batting instructions)  I found that  using some rubber finger tips and a thimble helped get the needle through the thick pieces on top.


     Here is the oldest t-shirt of the bunch, which shows the ties.  Seriously, who keeps t-shirts for over 40 years?  Apparently my sister! 
Swimming long ago.
A sampling of the other t-shirts:
More swimming, in college.


More running.  Whew, I get tired looking at all of these activities!

Wind surfing!

     I used Wonder Clips for the first time.  Another purchase I do not regret! I had some left over strips which I put together for a scrappy binding.   This picture shows off the orange flannel on the back. 


     The long and cold winter has made it hard to get good pictures.  This mediocre photo shows the fluffiness of the quilt, and the scrappy binding. 

     It is also hard to get a good picture in the snow!  

     Our attempt at photographing the quilt at my normal spot was thwarted by the wind!  My sister was tasked with holding up the quilt in the wind and cold.  
     My sister loves her warm quilt, which is full of memories.  It was a  fun project to work on. I have a few more projects underway, which I hope I will be able to share with you soon.

Take care, 
Gretchen